


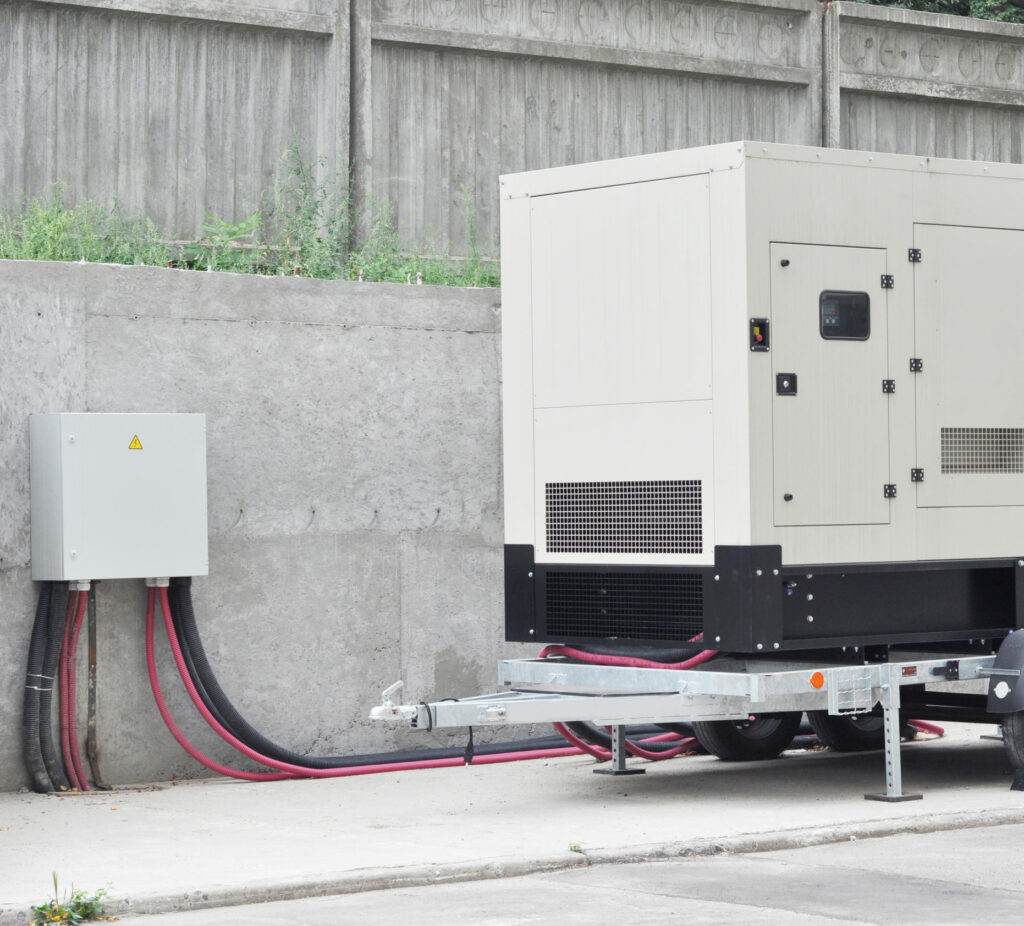
How to Install a UPS
Installing a UPS correctly is crucial for ensuring reliable backup power and preventing equipment failures. Whether you’re setting up a small office UPS or a large industrial system, following best practices can improve efficiency and longevity. This guide will walk you through every step of the UPS installation process, from initial setup to post-installation checks.
Step 1: Choosing the Right Location
- Ensure adequate ventilation: UPS systems generate heat, so they need proper airflow to prevent overheating.
- Keep away from direct sunlight: Excessive heat can shorten battery life.
- Maintain an ambient temperature of 20-25°C: This helps prolong battery lifespan and efficiency.
- Place on a stable surface: The UPS should be positioned on a flat, secure area to prevent vibration or movement.
Step 2: Unpacking and Inspection
- Carefully unbox the UPS and check for any visible damage.
- Ensure all accessories, including power cables, user manuals, and rack-mounting kits (if applicable), are included.
- Refer to the manufacturer’s manual for any special setup instructions.
Step 3: Installing the UPS Batteries
- For some UPS systems, batteries may be pre-installed, while others require manual installation.
- Follow the manufacturer’s guidelines for inserting and connecting the batteries correctly.
- Ensure the battery connections are secure and the battery compartment is properly closed.
Step 4: Connecting to Mains Power
- Plug the UPS into a dedicated power outlet that matches the required voltage.
- Ensure that the UPS is not overloaded by checking the power capacity before connecting devices.
- Allow the UPS to fully charge before connecting critical equipment (typically 8–12 hours for a full charge).
Step 5: Connecting Equipment to the UPS
- Identify and prioritise critical devices that need power protection.
- Use the UPS battery-backed outlets for essential devices like servers, routers, and workstations.
- Plug non-critical devices into surge-protected outlets (if available) rather than battery-backed outlets.
- Avoid overloading the UPS—ensure the total connected wattage does not exceed the UPS capacity.
Step 6: Configuring the UPS
- Install any manufacturer-recommended software for UPS monitoring and configuration.
- Set shutdown preferences and power management options via the UPS software.
- If using remote management, configure the UPS network settings (SNMP, Modbus, or cloud-based monitoring).
Step 7: Performing a Test Run
- Turn on the UPS and check for any error indicators on the display.
- Simulate a power outage by unplugging the UPS from mains power to ensure it switches to battery mode correctly.
- Monitor the runtime and ensure all connected devices remain powered.
- Reconnect the UPS to the mains and verify that it recharges properly.
Step 8: Ongoing UPS Maintenance
- Check the battery health status regularly via the UPS software.
- Keep the UPS firmware updated to maintain peak performance.
- Schedule regular maintenance checks to inspect batteries and internal components.
- Test the UPS every 3–6 months to ensure continued reliability.
By following these steps, you can ensure your UPS is properly installed, configured, and maintained for long-term performance. If you need further assistance, contact Secure Power for expert guidance.


Providing complete UPS solutions for over 10 years.
Secure Power is your single point of contact for all aspects of your critical power needs.
Other services we provide


Accreditations